Today I will be showing how to use Mullvad VPN on the UDM Pro. This is a great way to secure your entire network and keep your ISP from spying on you. This is also a great way to get around geo blocking. This is a very simple setup and should only take a few minutes to complete.
Requirments
- Have a paid for mullvad account
- Have a UDM Pro or UDM Pro SE (I have not tested this on the UDM)
- UDM Stands for Unifi Dream Machine
Getting the OVPN file
Firstly we will need to get the OVPN file, we will get this from mullvad. So firstly you will want to navigate to Mullvad.net and if not yet logged in log into your account. Then when your in the OVPN generator go ahead and select the Android/Chrome OS option as this will let us use it with our UDM Pro.
Now go ahead and select the settings you want, I personally went for a server in my country and TCP as I have found it to be more stable and responsive. Once you have selected your settings go ahead and click download OVPN file. This will download the OVPN file to your local PC.
Uploading the OVPN file
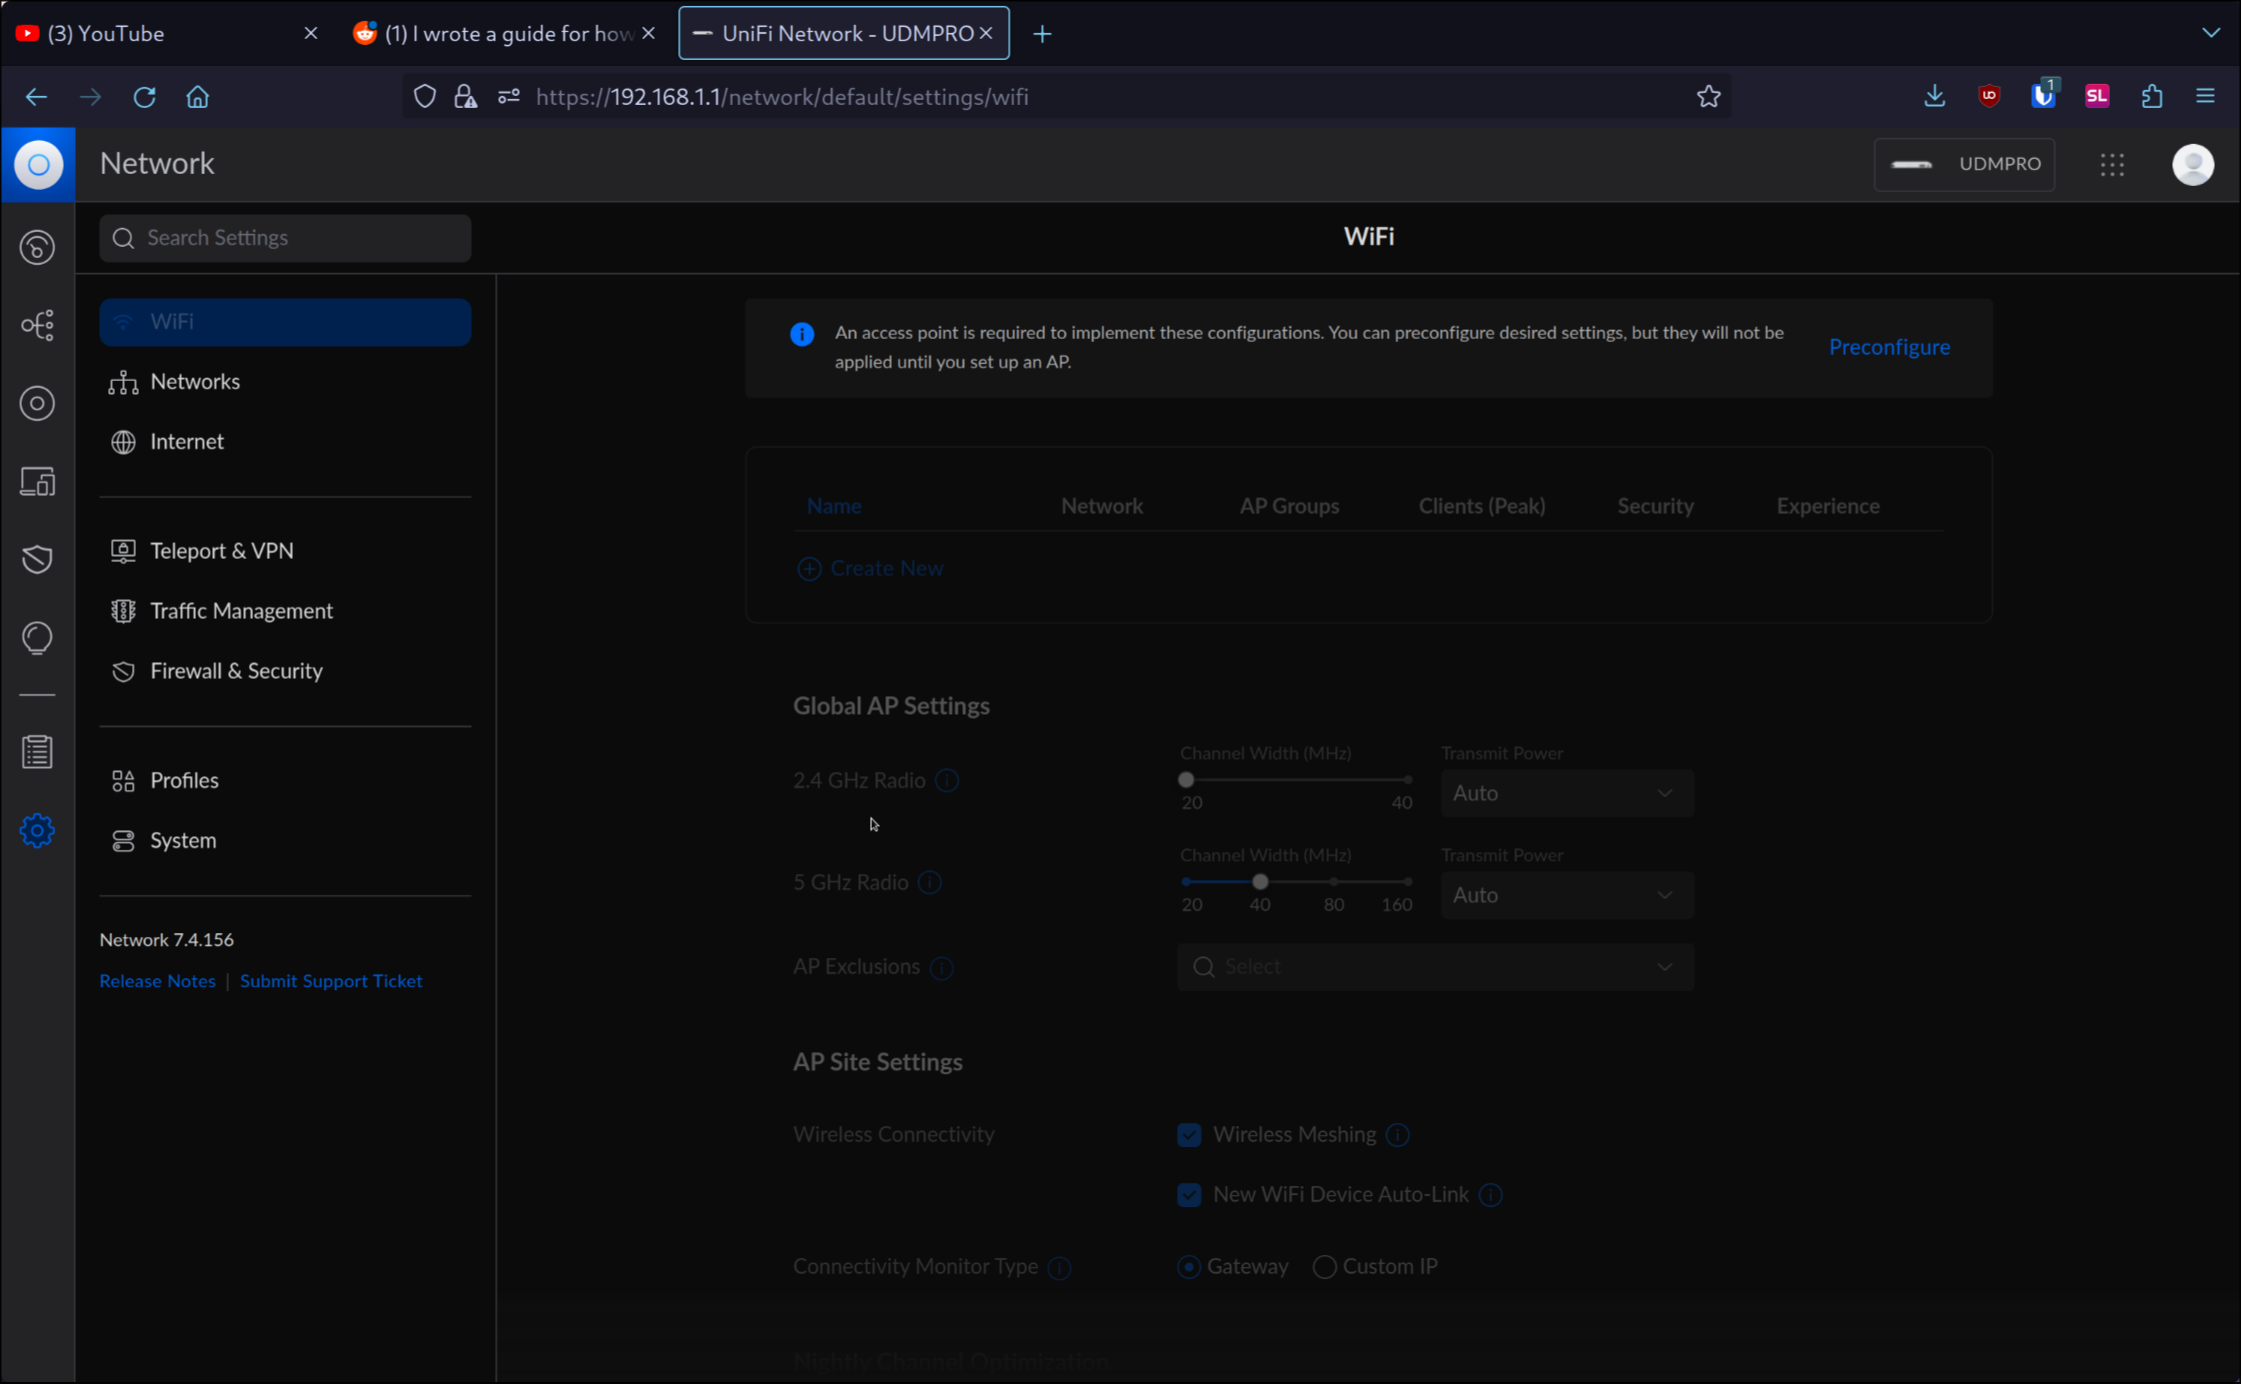
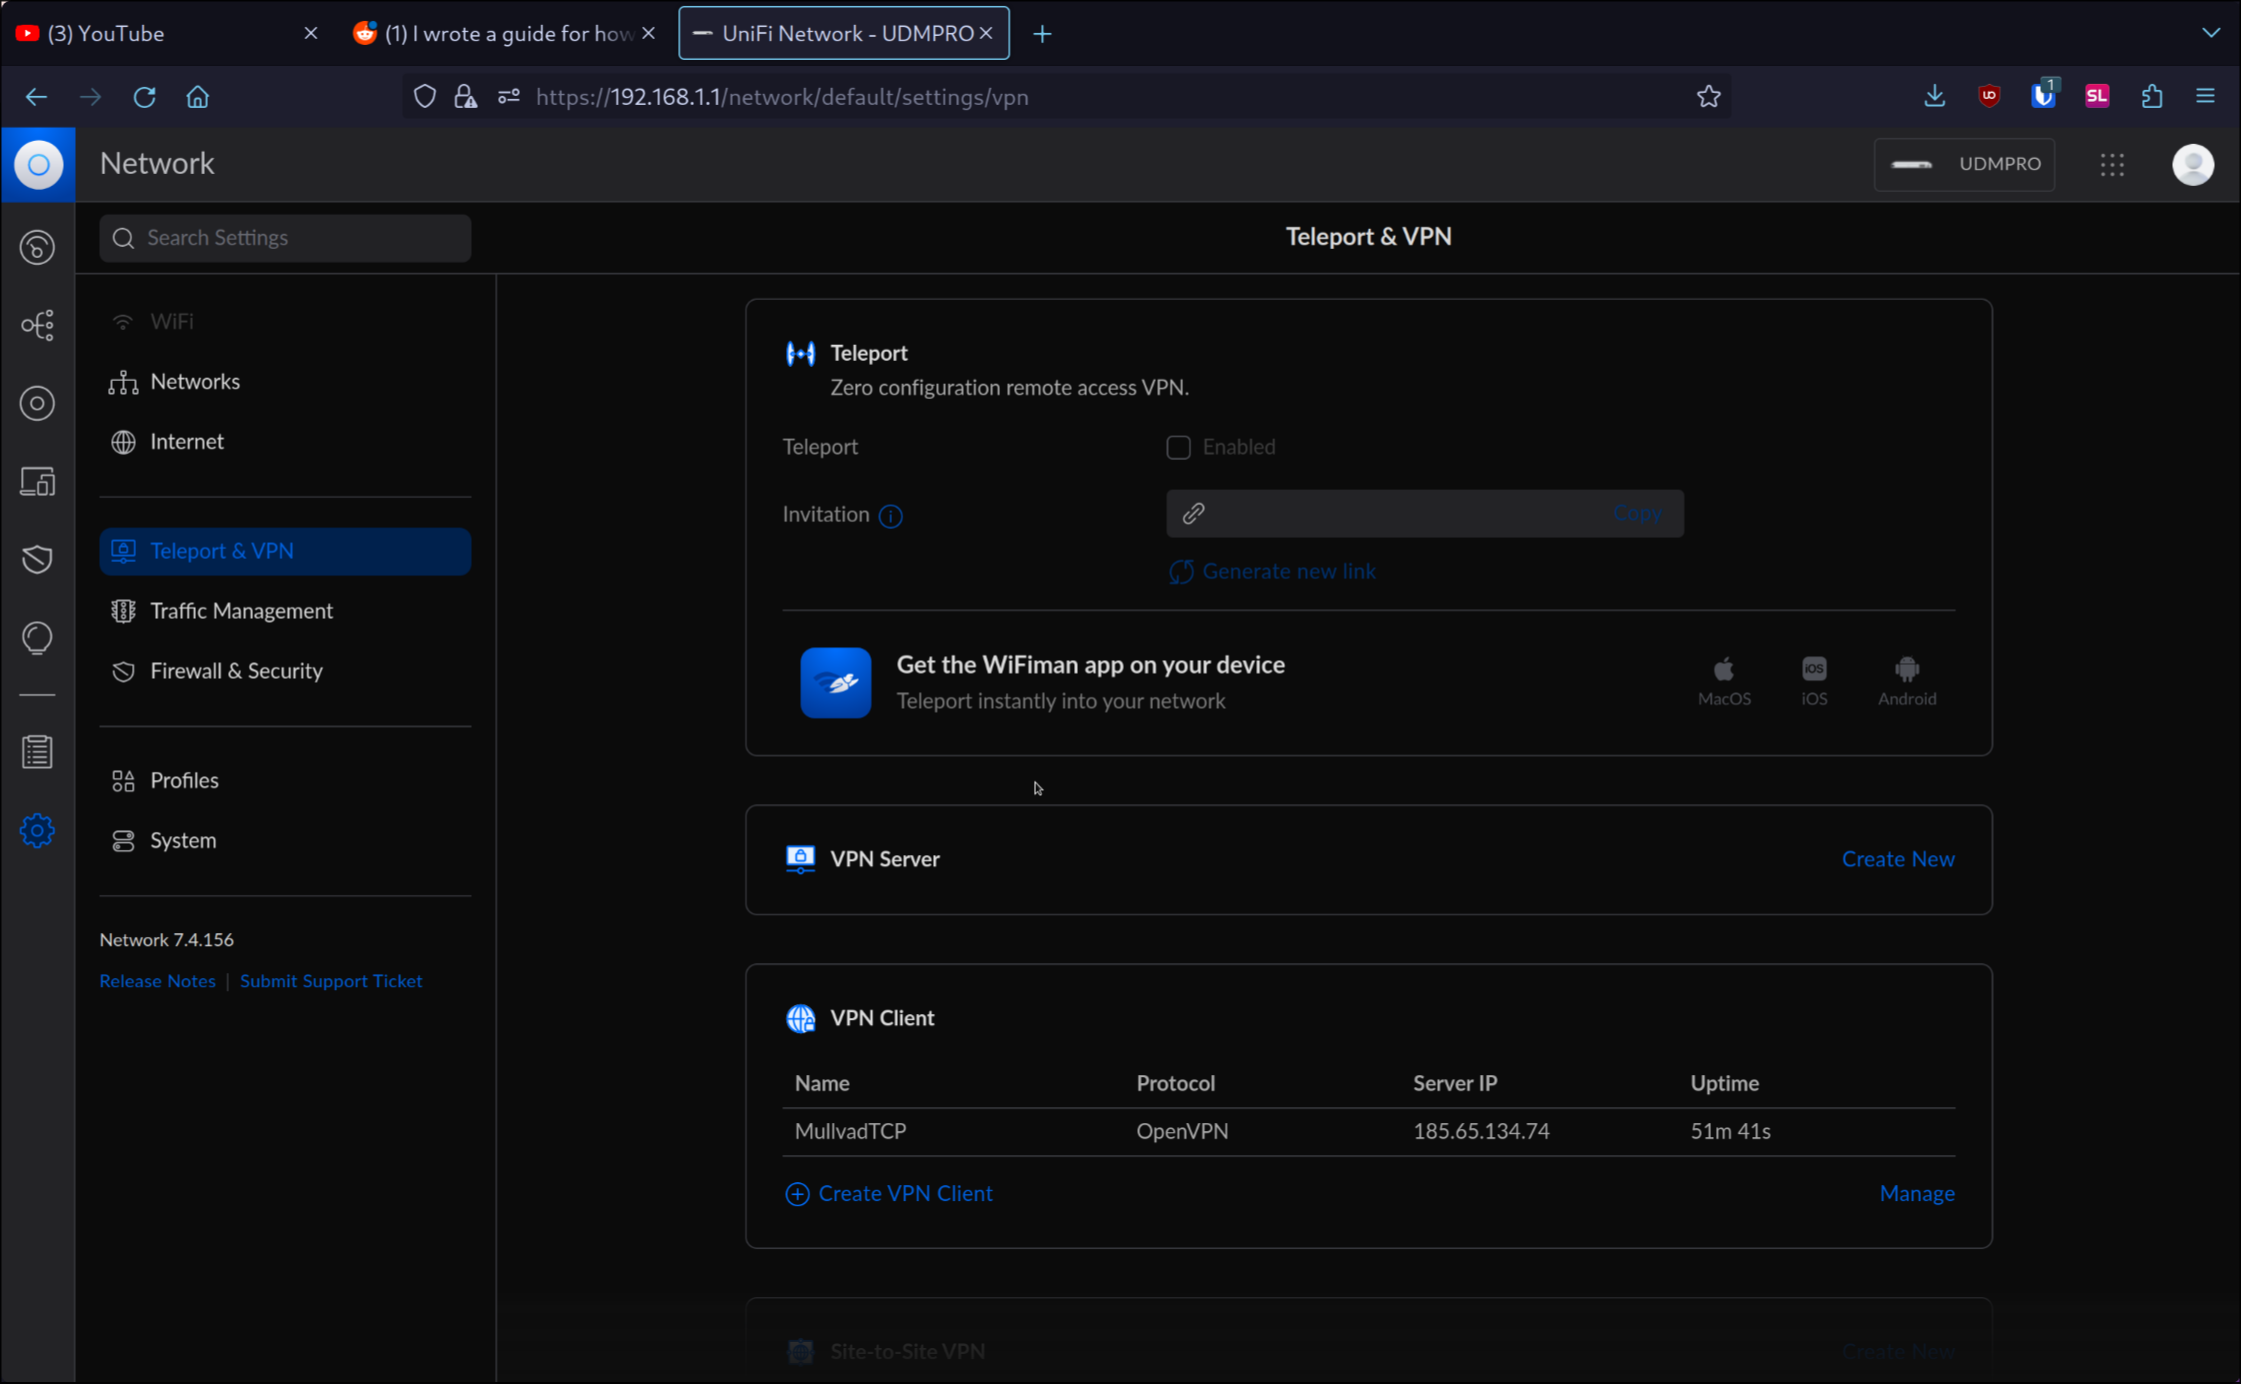
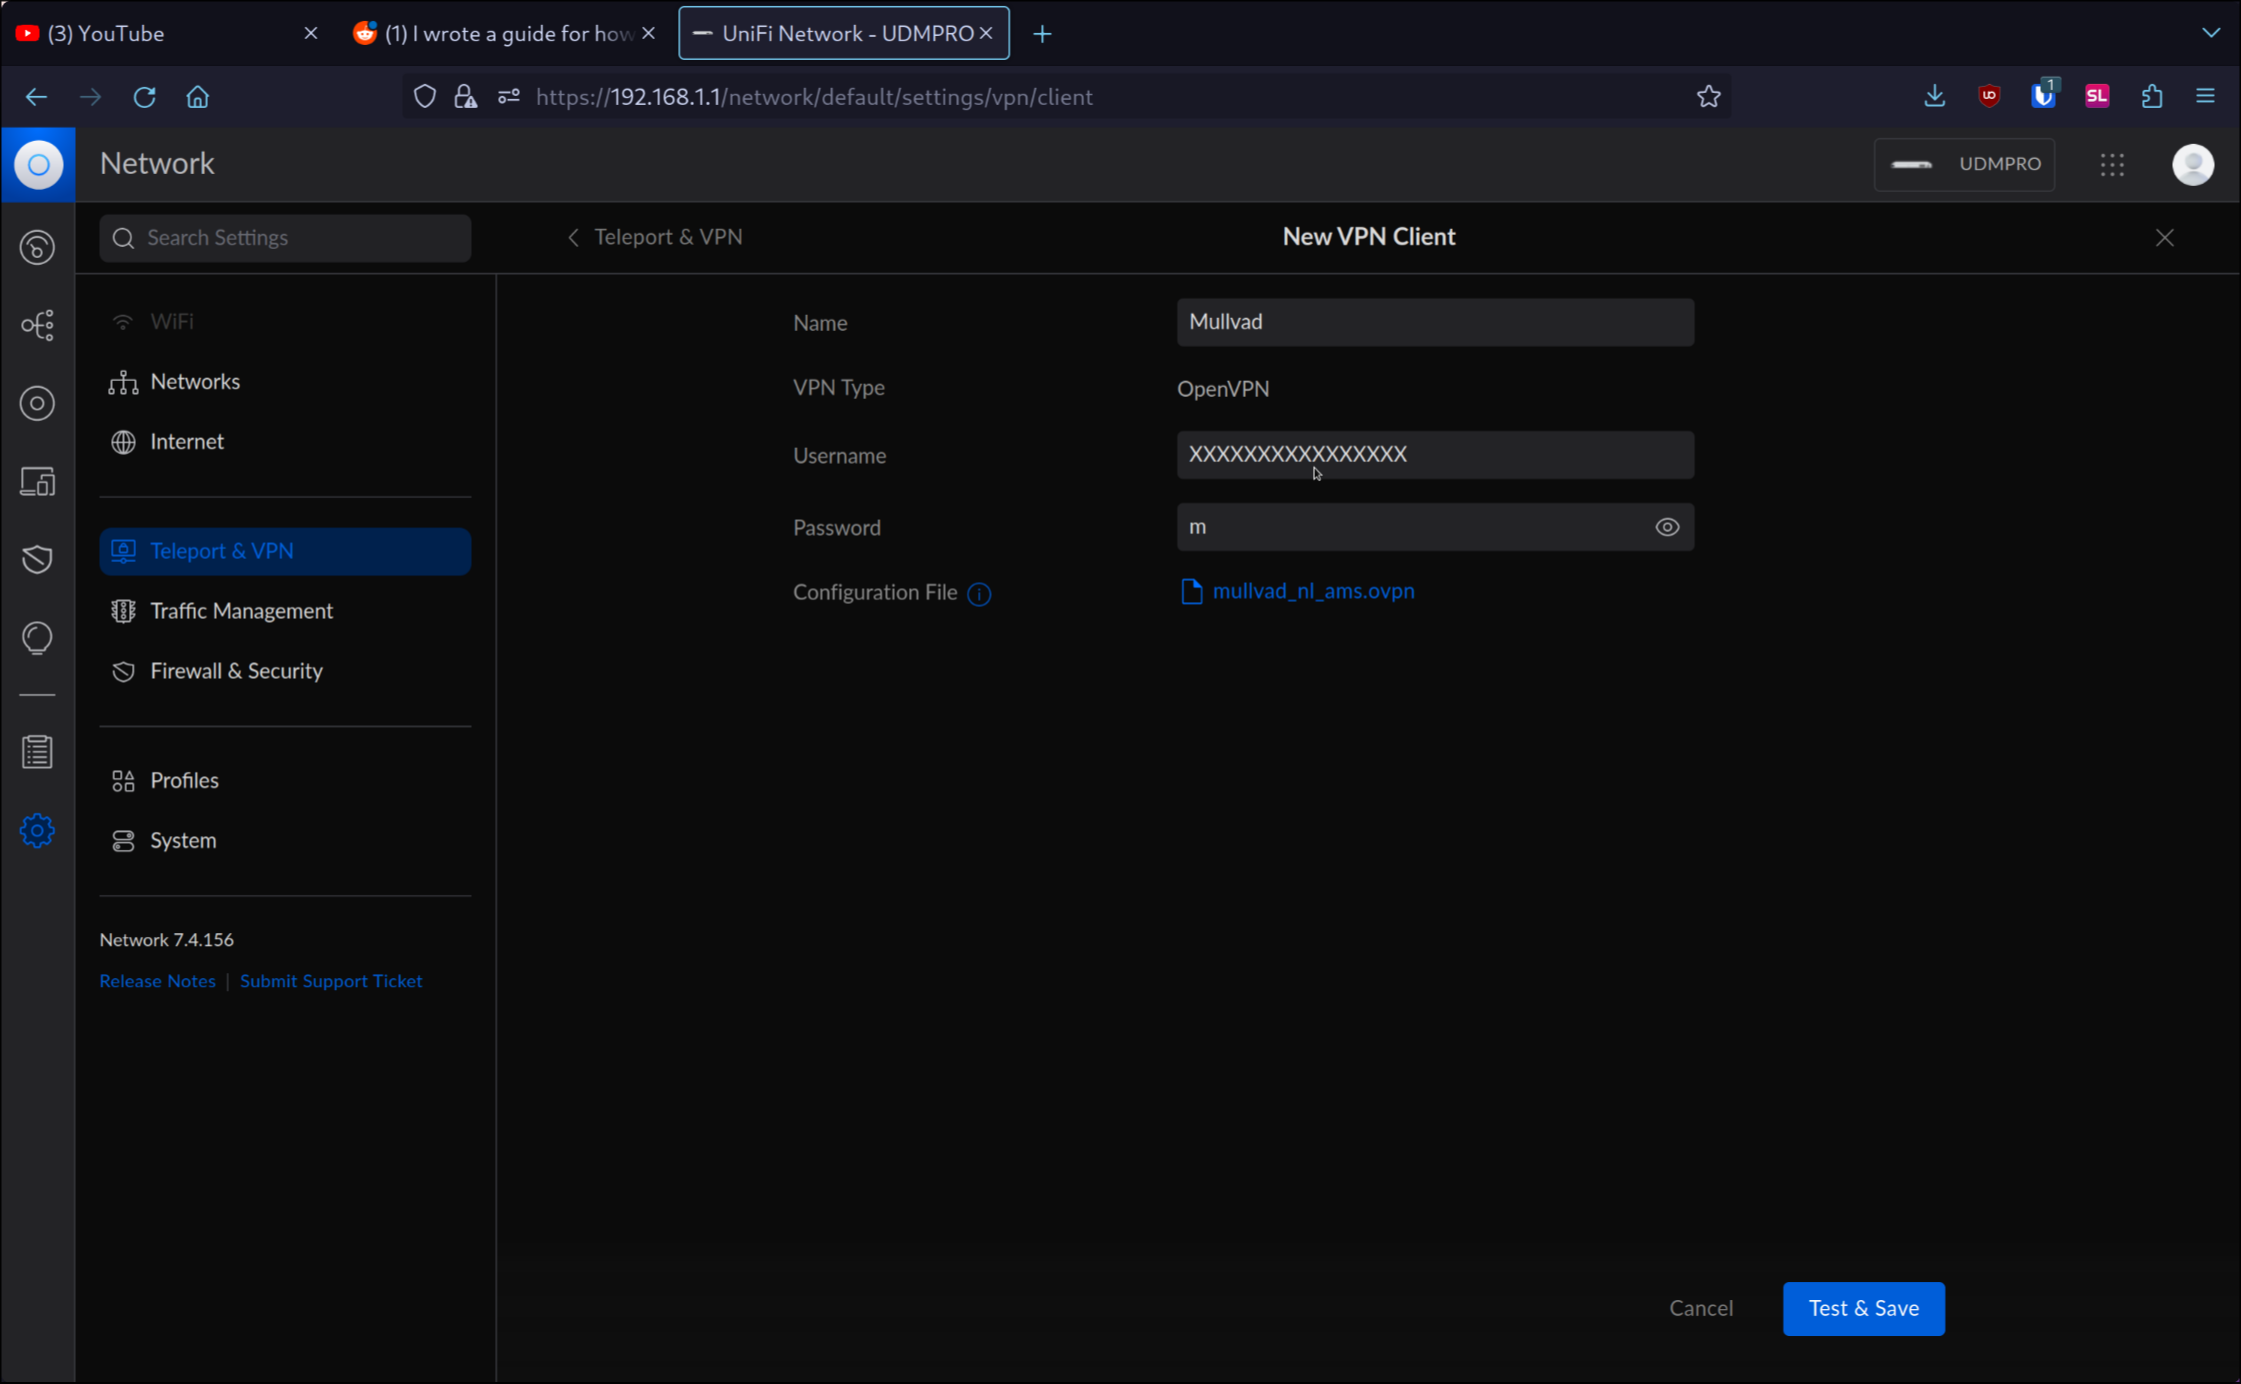
Now assuming your on the latest UDM Network Version(At time or writing 7.4.156) we can now upload the OVPN file to the UDM Pro. To do this we will need to navigate to the UDM Pro web interface. Once there go ahead and click on the networks section and then go into settings. Next go into ‘Teleport & VPN’ and look for “VPN Client” and click on “Create New VPN Client”. Now go ahead and give your VPN tunnel a name and upload the OVPN file in the slot where it says to do as such. Next your username will be your account number with no spaces and your password with be “m”. Now go ahead and save this and it will test if it’s valid and it should work. Next we want to create a rule to direct all traffic through the VPN.
Making traffic use VPN tunnel
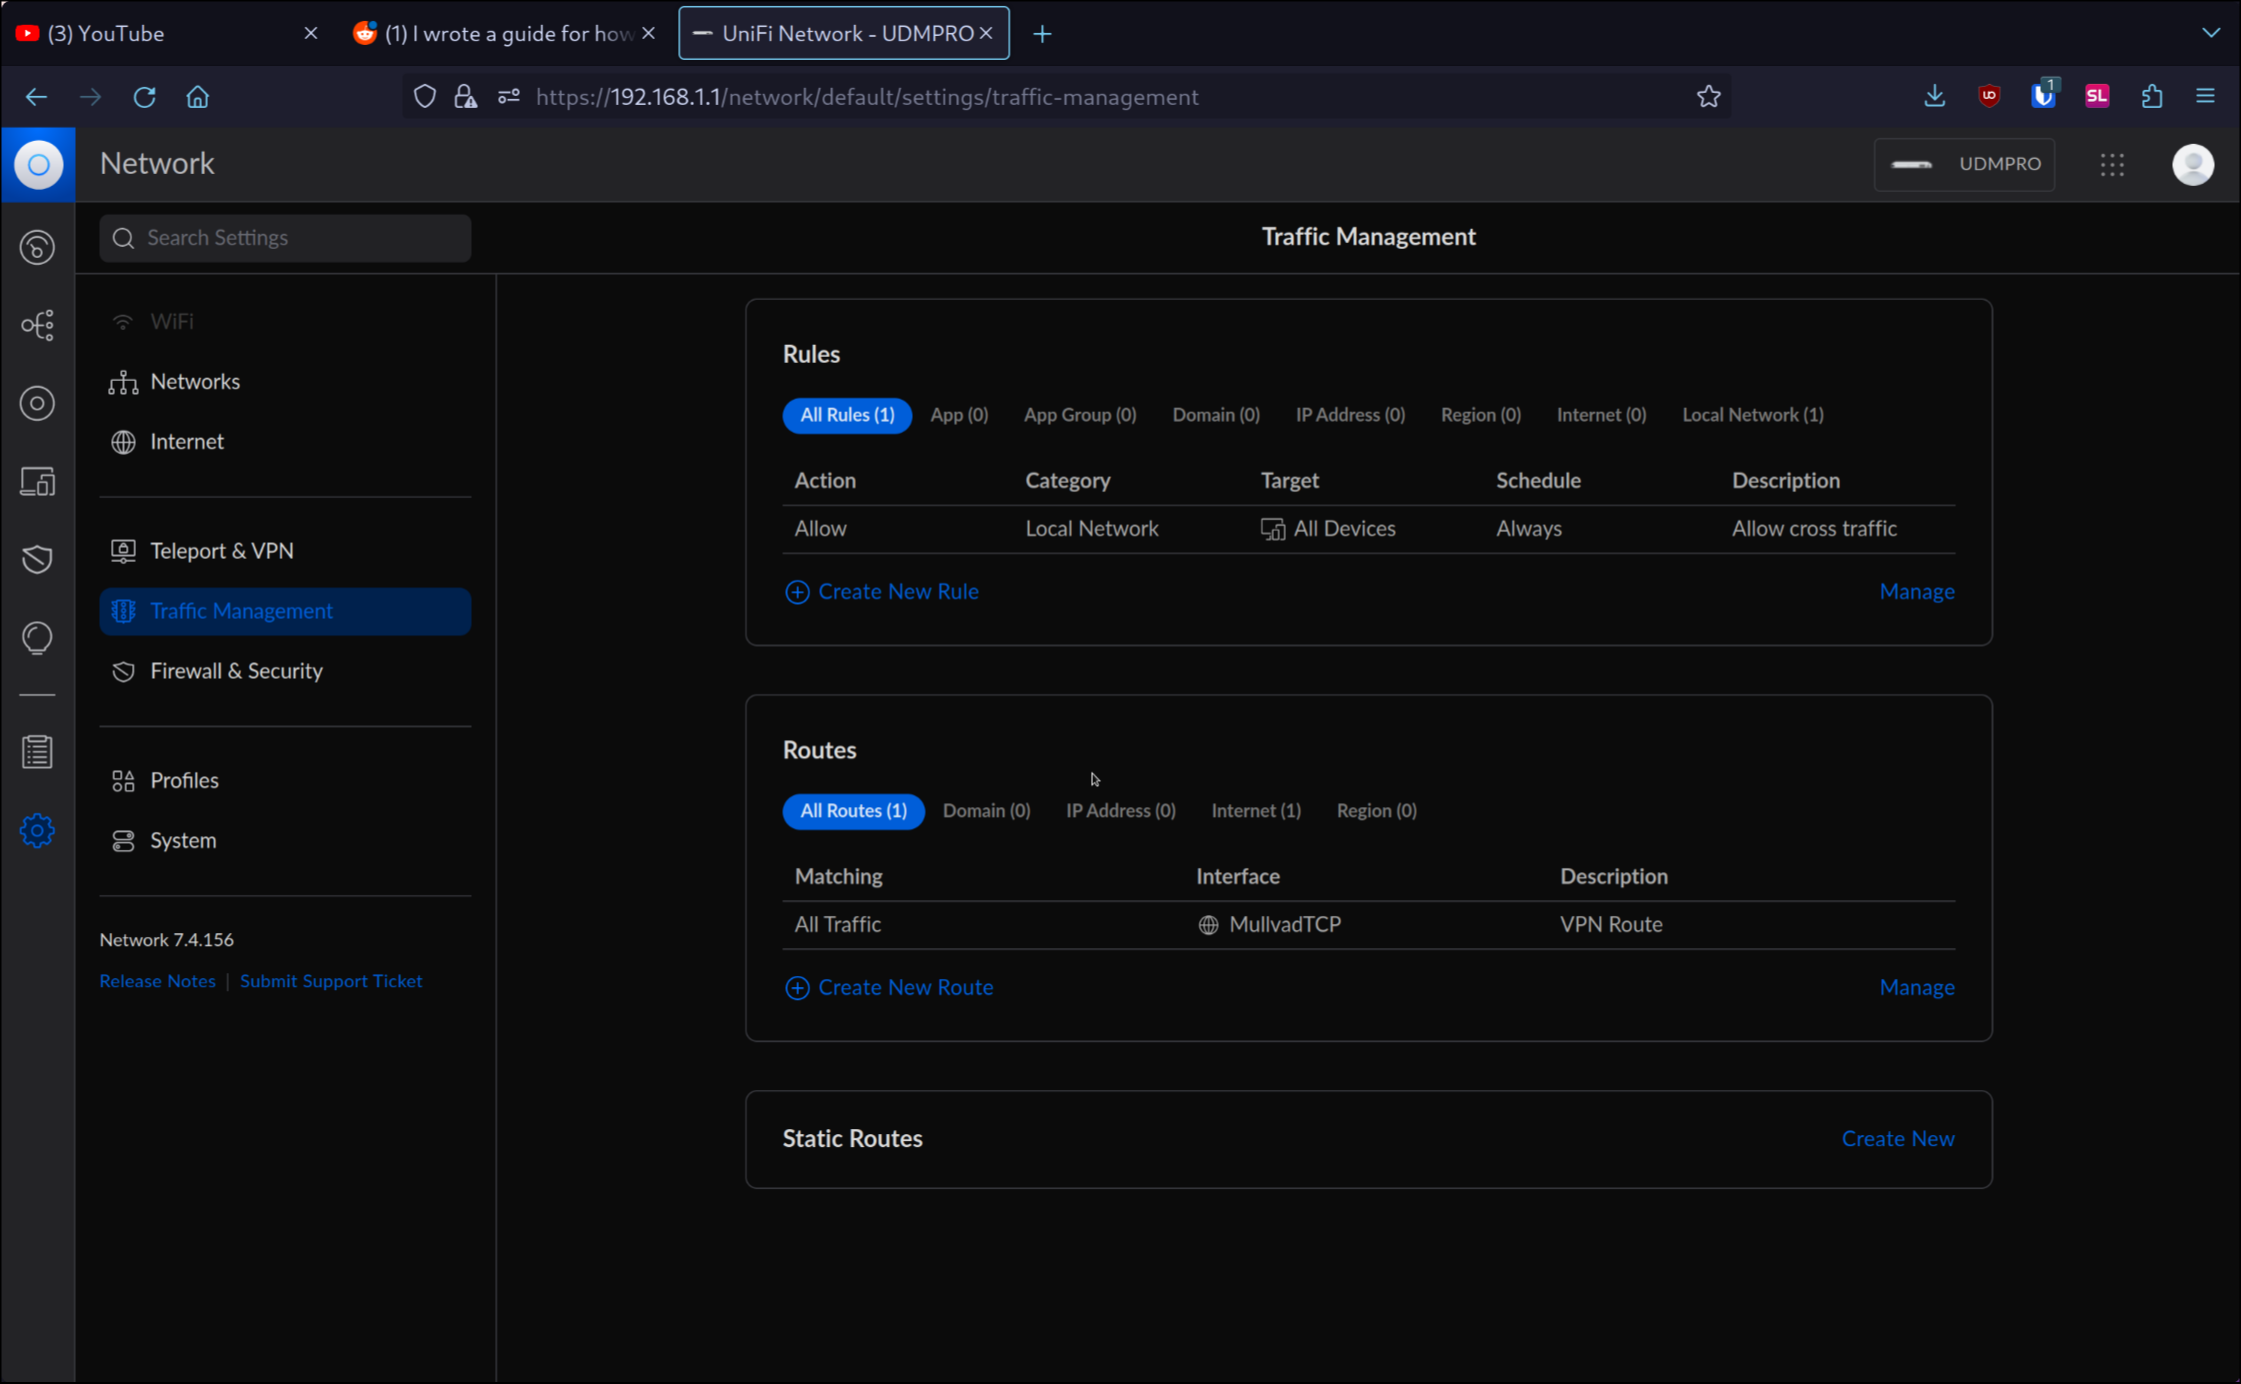
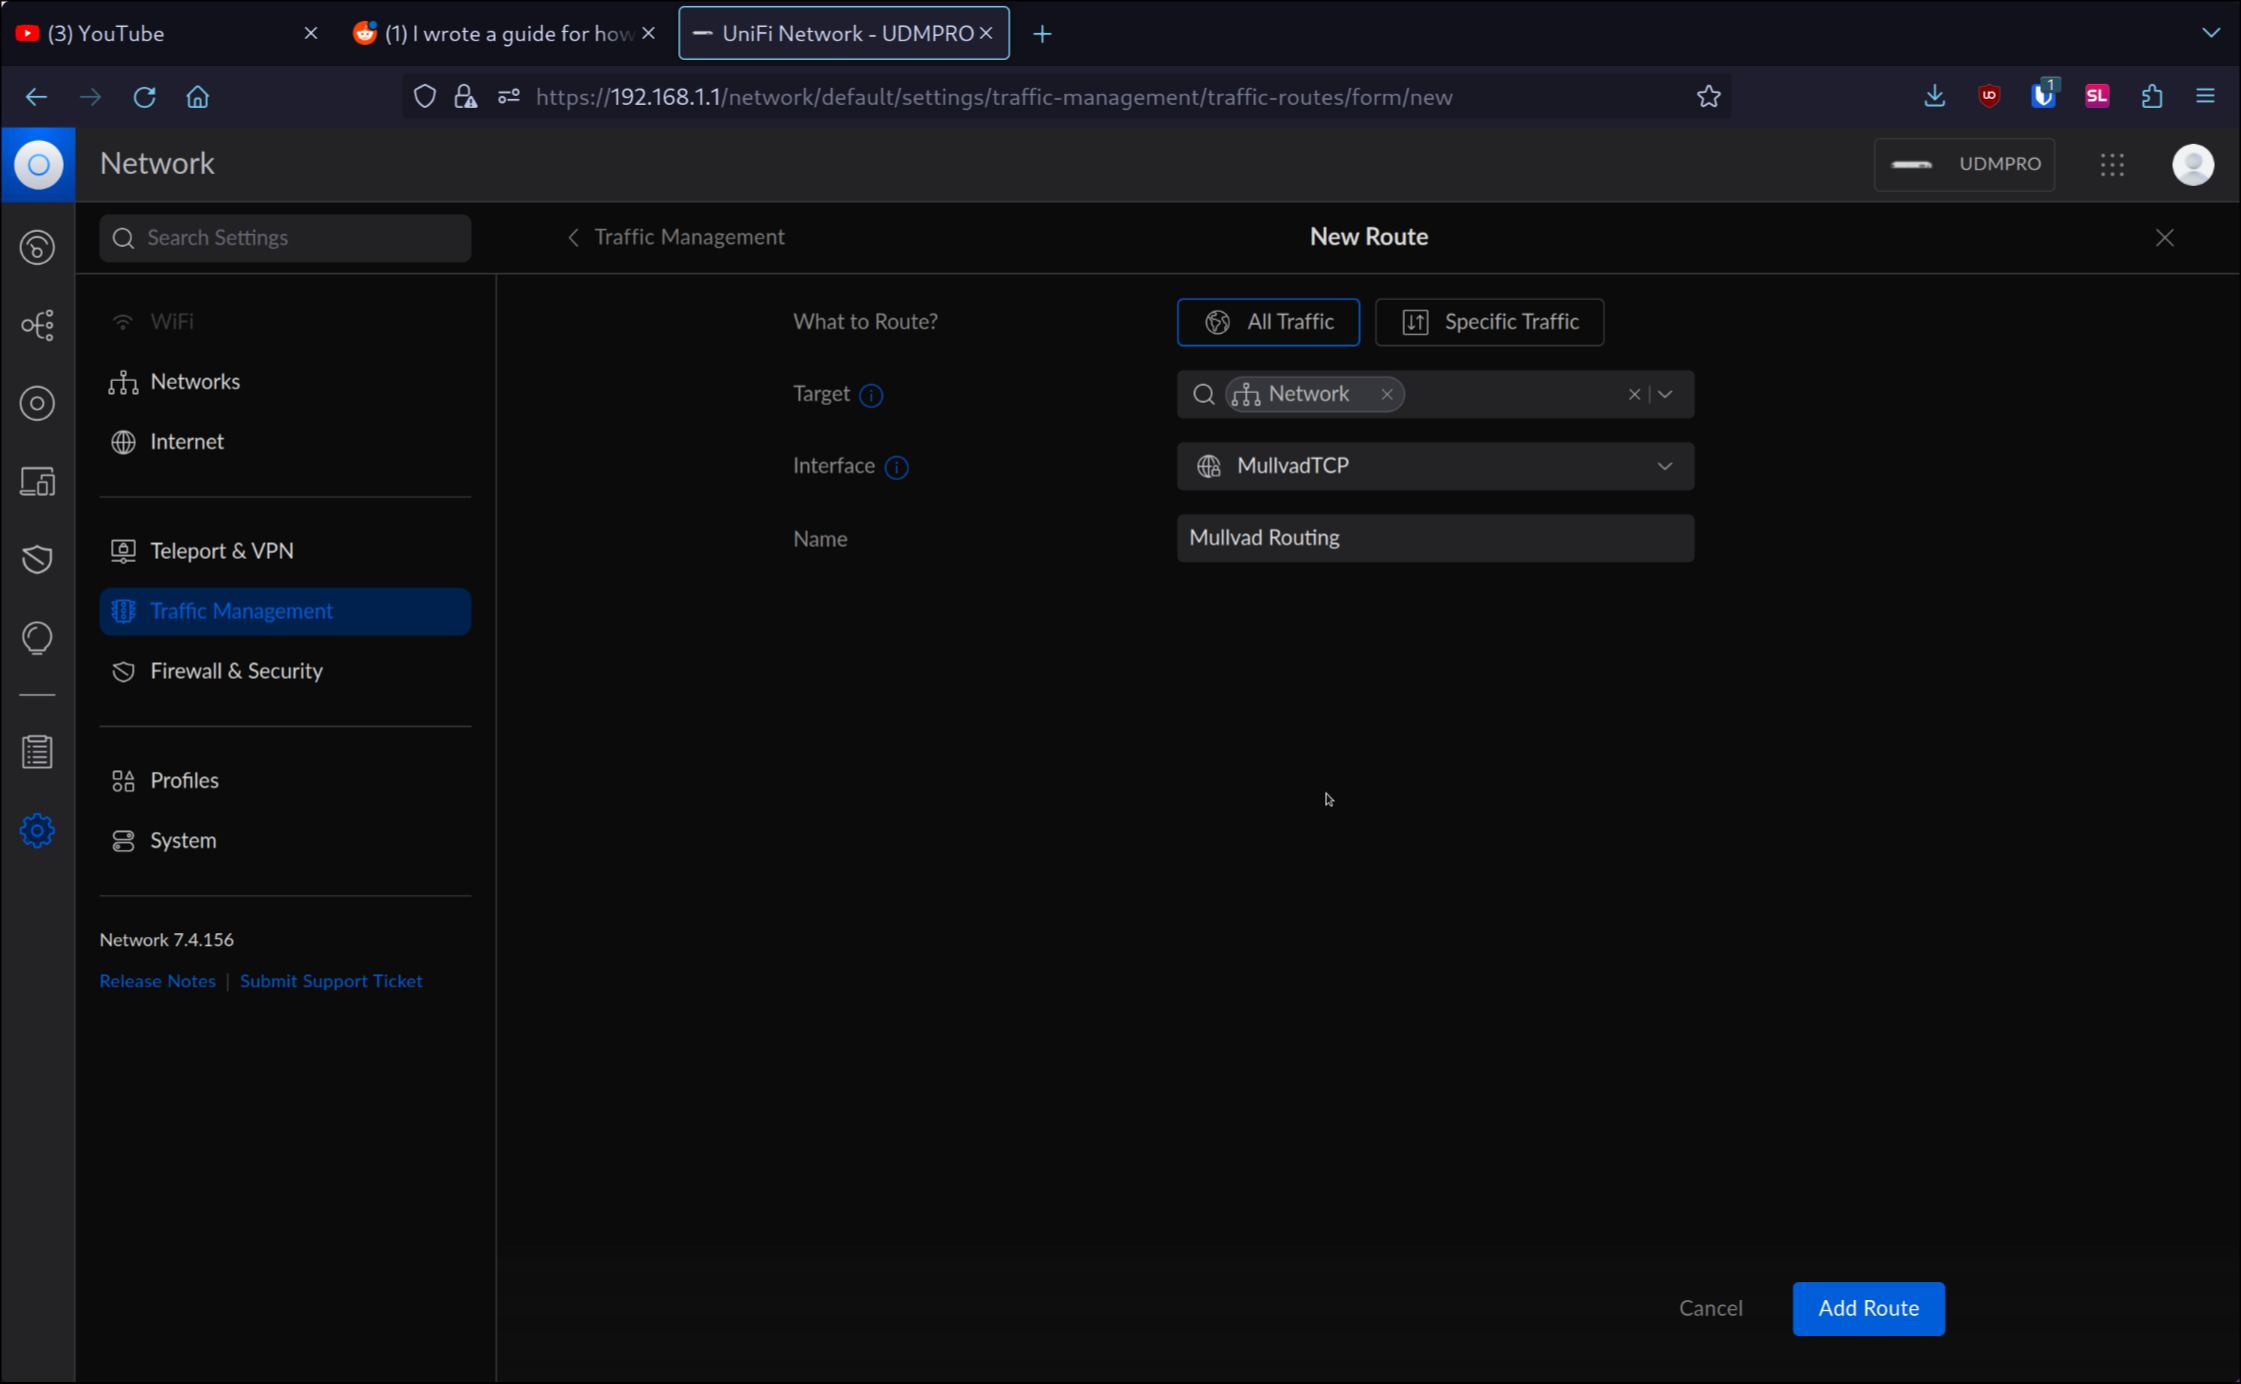
You will want to go ahead and create a Route to route all our traffic through the VPN. Go ahead and click “Create new Route” on the bottom left and then you will want to set what to route to all traffic(or Specific traffic if you only want to use the VPN for certain cases) the target can be whatever you want but I personally split my network and my personal network I have set to use the VPN and the network which is used my family I have set not to route to prevent it breaking for example Netflix for them as Netflix can detect it.
Done
Interface will be the VPN tunnel we created earlier and name can be whatever you want as long as it’s clear what it does. So now as soon as you hit confirm and wait a bit for the rules to apply it should switch all your traffic over to the VPN. You can check this by either going to an IP checker website, for example Mullvad’s or you can curl “https://am.i.mullvad.net/ip" in your terminal and it should return an IP not belonging to your ISP. If you have any issues with this guide or would like me to write others then please leave an issue on the Repository and I will try to get to it as soon as possible.
Notes
- This guide is not sponsored by Mullvad and is not an official guide by them. You may find that you can use other VPN’s as long as they provide OVPN configs. Other VPN’s that I could recommend are IVPN and ProtonVPN.
- Using this setup port forwarding on your local network will still work and will respond from your ISP IP and not the VPN IP. This is because we are only routing traffic through the VPN and not all traffic. If you want to route all traffic through the VPN then you will need to create a rule to route all traffic through the VPN. This will break port forwarding and will make it so you can’t access your local network from outside your network. If there is demand I may make such a guide in the future.
- I have not tested this on the UDM but I assume it should work the same way. If you have tested this on the UDM and it works please let me know and I will update this guide.
- Using this method on my 1Gb symetrical link I get a speed of around 200Mbs. I am not sure exactly where the bottelneck exists but I assume it’s inside of the UDM Pro due to it having to handle all the encryption, this might be solved by using wireguard but at date of publishing the UDM Pro does not support Wireguard as a VPN client.